|
the purpose of the pen tool is to learn how to trace images or logos. for example like the apple logo or the nike logo. you create anchor by clicking on the pen tool first, then you click on the outline of the logo one time and you click farther down but instead of clicking it one time you double click it and hold. then you try to move the handle the best u can to aline the pen tool line with the border line with the logo image.the best way to handle the tools is to try to aline the border with the logo.
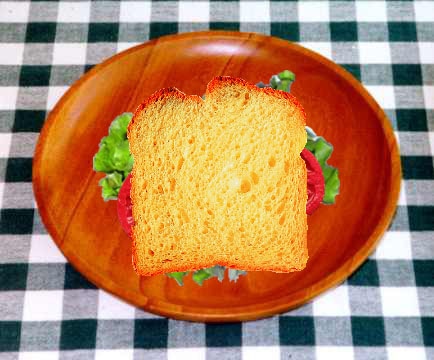
i created a straight line by clicking on an anchor point first then clicking on another part of the border logo. then to make a curved line you click on an anchor point then click on another point then you use the line to adjust the line to create a curved line. i traced an apple logo, nike logo, and adidas logo. I created a straight line by clicking on an anchor point first then clicking on another part of the border logo. Then to make a curved line you first click on a anchor point then u click on another point and u use the line tool to adjust the line so you can create a curved line. I traced a apple logo, Nike logo, and Adidas logo. I used the pen tool to trace the logo and the move tool. I first traced the Nike logo to practice which seemed pretty simple. I used the pen tool to click on the anchor point, then clicked on another anchor point and try to drag the line to the second anchor point. I locked the layers by clicking on the eyeball of a layer so u can lock it. I used the Fill color tool to color an area of the shoe i wanted. I clicked on the paint bucket an it filled up the entire part of the shoe I wanted. At first I did the local flavor shoe design and on the shoe I put the picture of an Aztec logo on it and colored the shoe red, green, and white. I first used the magic wand tool to select the area I wanted to fill with. Then I filled it red or green for example the shoe laces. I put the Aztec pic on the side of the shoe by moving the picture to it. I lower the opacity to 50%. Then i locked the layer and used the magic wand tool to select the area then i added a layer a layer mask. Then I unlocked the layer and put the opacity layer back to 100%. 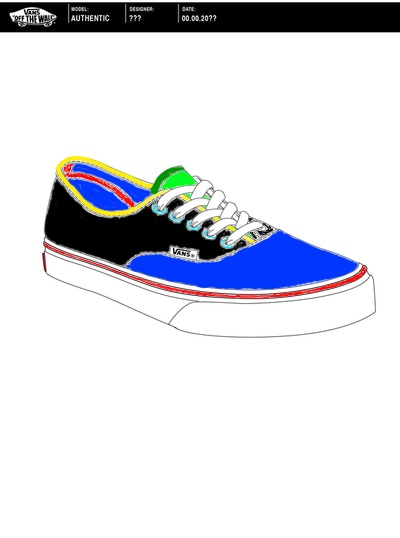 Vans Culture design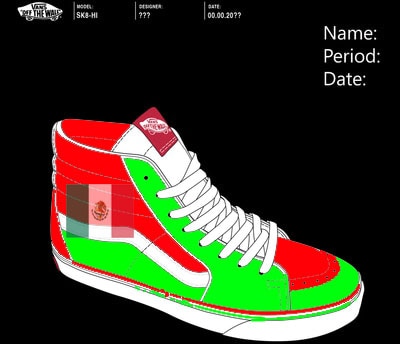 Vans music design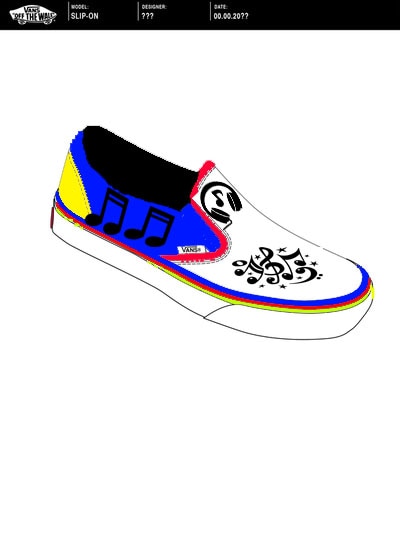 Vans sport design A layer mask is a way to isolate parts of an image in photoshop. A channel mask is different than a layer mask because it can help you change the color of an image or a shape. A layer mask just lets you delete unwanted things from the image. On my sandwich project, i had to move the images on top of each other and on a plate to form a sandwich. I used the quick selection tool to click on all the images and drag them to the plate one by one.
|
|